If you think that drywall is a just basic step in construction and renovation projects, think again. It is a complex building process that requires skill and knowledge to ensure you create a smooth, durable surface suited to the final wall finish. In this blog, we will look at how different levels of drywall taping add to the complexity and how...
Read More
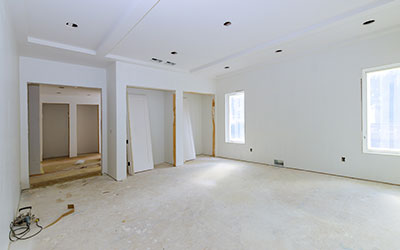
Residential drywall projects involve several steps, including careful taping to create smooth walls and ceilings. In this article, we will share a complete breakdown of the drywall and taping process to perfect your drywall installation. Choosing the right materials makes it easier to complete each step and helps ensure you achieve a...
Read More
Most homeowners don’t give much thought to the type of insulation in their home until they undergo renovations or extremely noticeable issues with home comfort. Whether you’re considering improving energy efficiency or completing the drywall in a new addition or renovated space. In this blog, we will explain how to choose the right R-values...
Read More
Did you know that it just takes a small flame to spread fire throughout your home in less than a minute? If you didn’t, you’re not alone. In this blog, we will look at the importance of fire-rated drywall to improve your home’s safety. Fire-rated drywall contains a special mix of gypsum and non-combustible materials to increase fire...
Read More
Installing drywall on your own can be a complex and demanding project that involves several steps. It requires not only patience, but also a certain level of skill to achieve a professional finish. In this blog, we will share our drywall crew’s pro tips on drywall installation to help you overcome common challenges, from measuring and...
Read More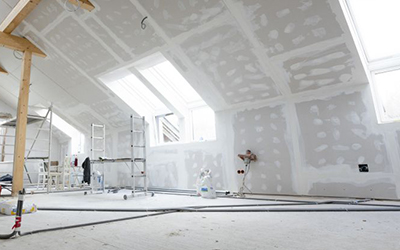
With more people becoming aware of how building materials affect the environment, the building industry is embracing innovative solutions to create more sustainable and eco-friendly living spaces. In Ontario, where residential construction is thriving, homeowners and builders are exploring alternatives to traditional drywall to minimize their...
Read More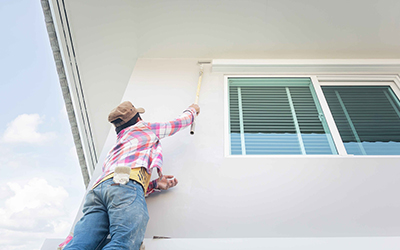
Welcome to Ontario Drywall and Taping, where we believe in turning your house into a home. One of the crucial steps in achieving a polished and inviting living space is finishing your residential drywall. In this blog, we'll explore some expert painting and decorating tips to enhance the beauty of your finished drywall and transform your living...
Read More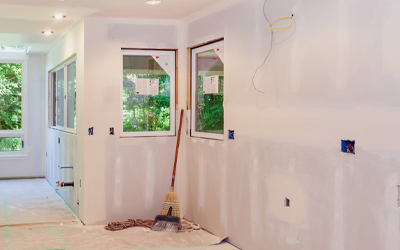
Drywall is a common building material used in homes and commercial spaces for its durability and versatility. However, like any construction material, drywall can encounter various issues over time. In this blog, we'll explore some common drywall problems faced by homeowners and professionals in Ontario, Canada, and provide practical solutions...
Read More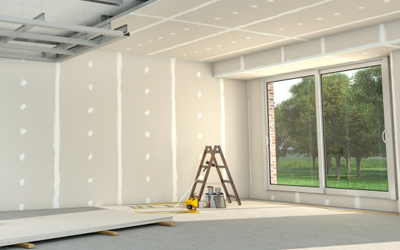
To live more sustainably and use less energy, the importance of a well-insulated home cannot be overstated. Among the key elements contributing to energy efficiency, drywall plays a crucial role. This blog entry addresses the significance of energy efficiency in home construction, focusing on Ontario Drywall and Taping tips to create a...
Read More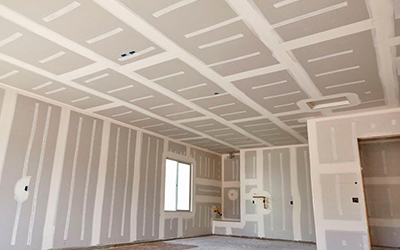
Regarding home improvement projects, the spotlight often falls on trendy decor, high-tech appliances, or stylish furniture. However, a crucial element can significantly impact your home's value and overall aesthetic: quality taping and mudding. Ontario Drywall And Taping is your key partner in bringing this transformative process to your living...
Read More© 2026 Drywall Company - www.ontariodrywallandtaping.ca. All Rights Reserved.


