
The trend towards a less builder-grade, more bespoke look in home design has homeowners and designers alike leaning into features from unfitted kitchens using antique hutches and pie-cupboard pantries to finish carpentry, such as window seats and reading nooks. In this blog, we look at the art of custom carpentry to embrace the custom look that...
Read More
As drywall experts, we often manage the final steps of DIY renovation projects to help homeowners achieve a professional finish. In this blog, we look at the importance of nonstructural framing plans and why they matter in the interior renovation process. Interior framing is the “skeleton” used to section off walls in a...
Read More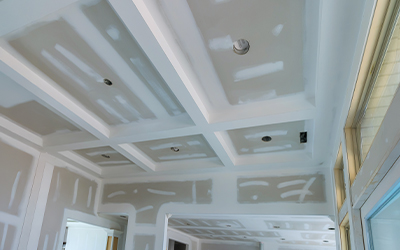
Spring cleaning isn’t the only home maintenance task to tackle when winter ends. This is the time of year to spot signs of winter wear on your walls that make your home look tired and neglected. Here are some drywall repair tips for a spring drywall refresh. Winter exposes your home to extreme temperatures and weather fluctuations...
Read More
Fresh drywall can look flawless one day and disappointing the next if the paint choice is wrong. Uneven coverage, dull patches, visible repairs, and streaky touch-ups often show up after the walls dry, which is why drywall paint deserves more attention than many homeowners expect. At Ontario Drywall & Taping, we treat painting as the...
Read More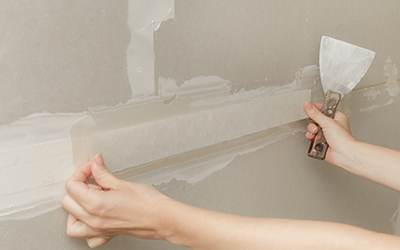
There is a saying in the trade: "Paint hides nothing; it highlights everything." You can hang drywall perfectly. You can screw it off with military precision. But if the drywall taping is even slightly off, the moment you roll a coat of semi-gloss paint on that wall and turn on the lights, every mistake will scream at you. Blisters, ridges,...
Read More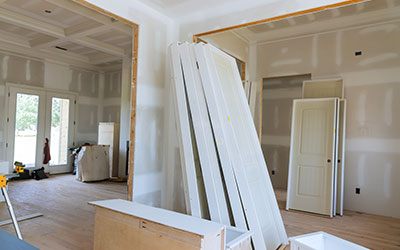
There is a stubborn myth in the GTA renovation world that the moment the first snowflake hits the ground, the construction industry shuts down. Homeowners often assume that because they can’t pour a driveway or replace a roof in January, their interior projects need to go into hibernation too. We hear it all the time: "Shouldn't I...
Read More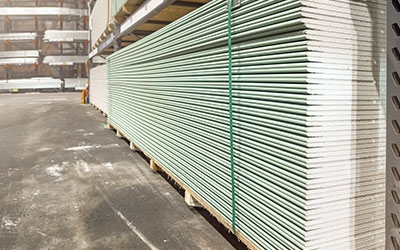
When a bathroom is newly finished, everything feels fresh—straight grout lines, crisp paint, clean corners. The real story shows up a few years later. Give it some time and that same room has seen long showers, bath mats soaked from kids' baths, and more rushed mornings than anyone remembers. Even with a fan running, not all of that...
Read More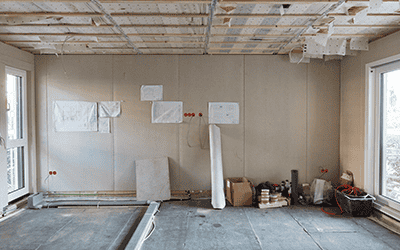
Uneven ceilings tell on you. Light grazes across the surface, and every dip or crown shows up like a topographic map. That’s why pros lean on resilient channel not only for sound isolation, but also as a surprisingly precise tool for ceiling leveling—especially in Ontario renovations where framing has shifted over decades. Below is a...
Read More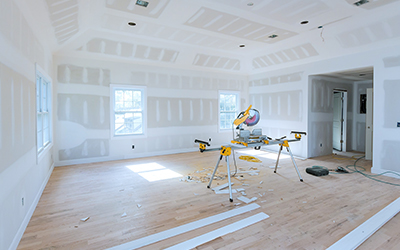
Purchasing drywall for your home renovation projects involves several factors, including sheet size, drywall type, and compliance considerations, as well as drywall thickness. In this blog, we will look at the key differences between ½” drywall and ⅝” drywall with a few tips on selecting the best drywall, tools, and materials for your...
Read More
When you reach the drywall stage of your renovation project, it’s your last chance to consider soundproofing for your space. In this blog, we’ll explain why SONOpan is a game-changer for noise reduction and why you should include it for a wide range of uses. Sound transmission can travel through walls, ceilings, and floors when nothing...
Read More© 2026 Drywall Company - www.ontariodrywallandtaping.ca. All Rights Reserved.


